Target Leningrad - opening moves
Today’s focus is on the opening moves for Target Leningrad. Specifically, figuring out a best initial setup for the Germans.
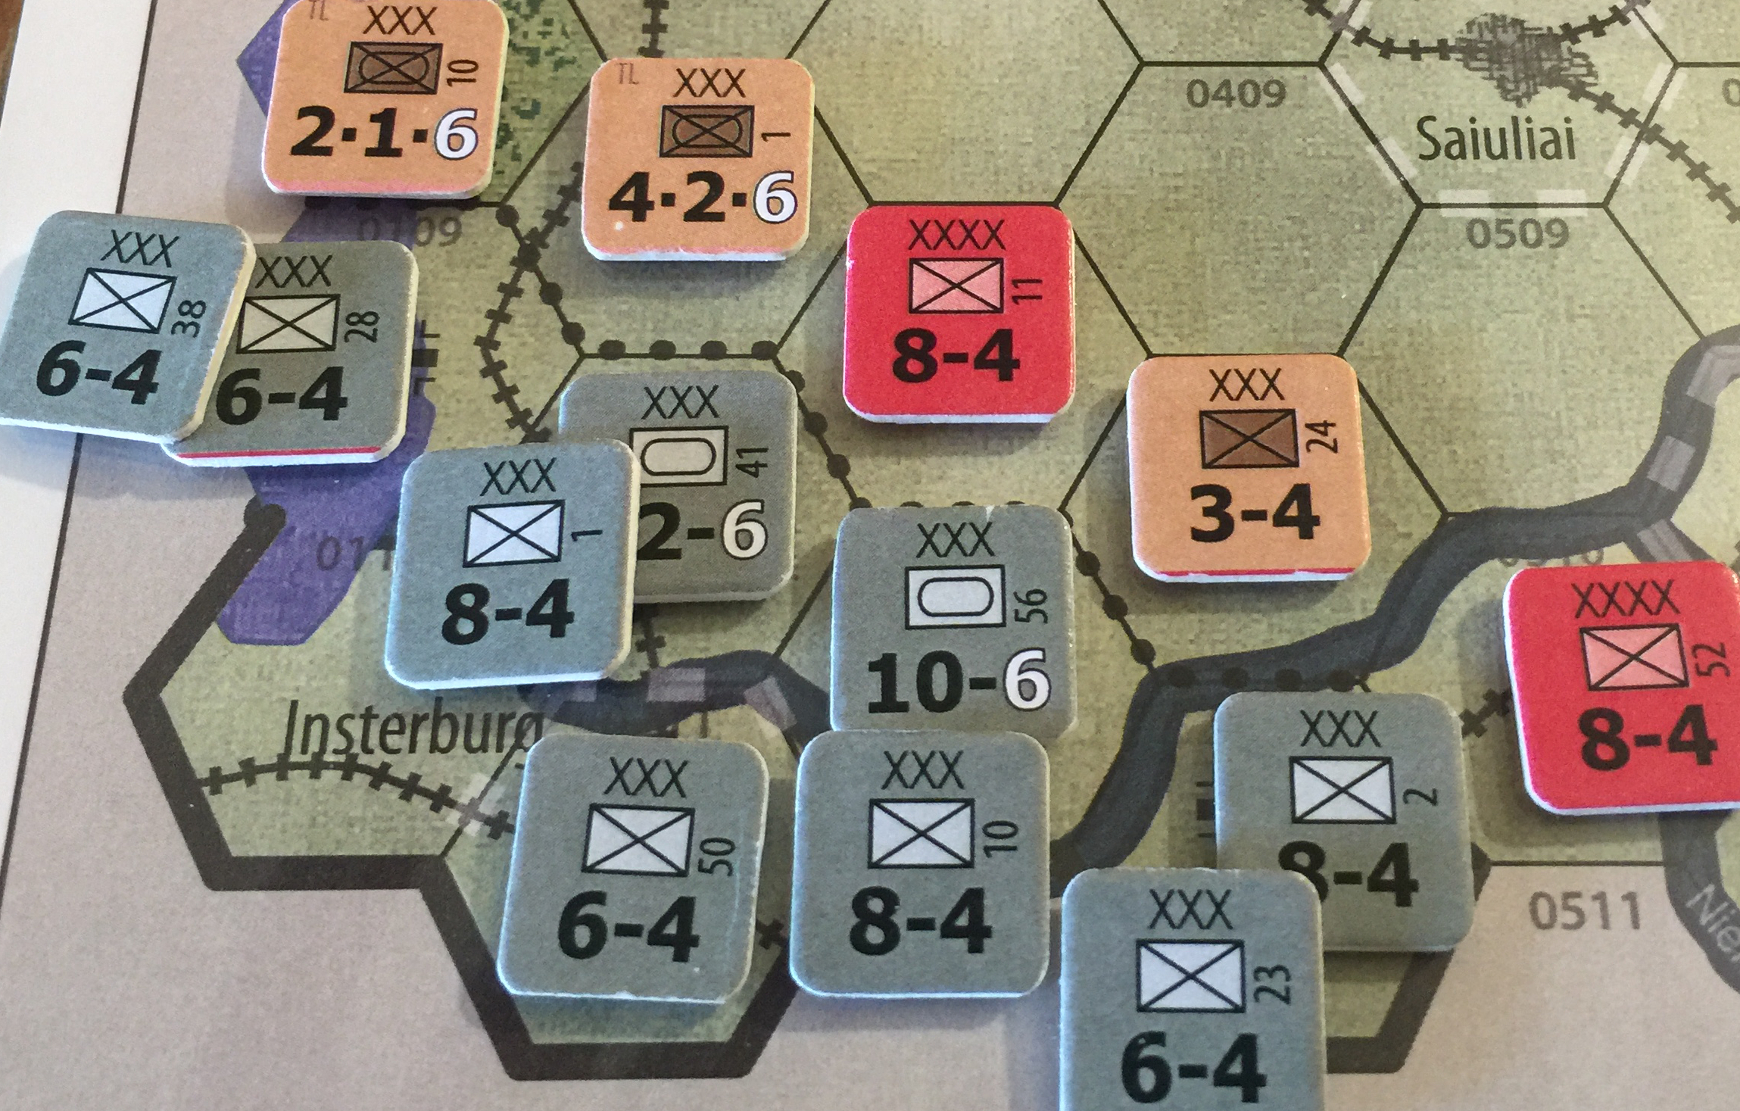
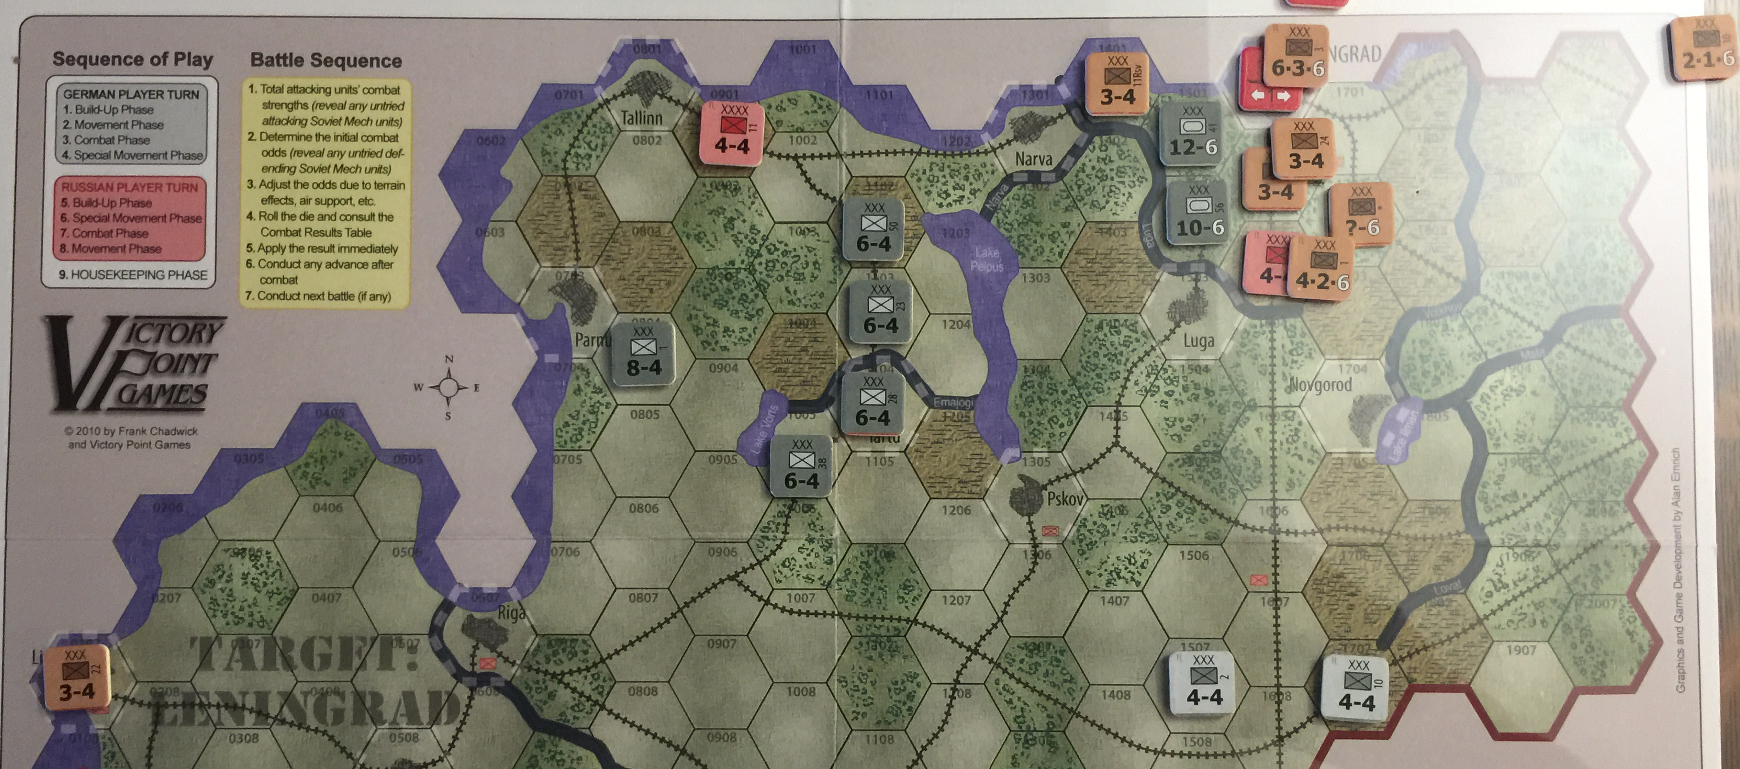
Five initial battles result. From northwest to southeast:
-
38th Infantry Corps against 10th Mech Corps at 6:1. This is an auto-elimination for 1 step unit. 38 advances.
-
41st Panzer Corps against 1st Infantry Corps (Russian) at 6:1. Auto-elimination. 41st advances.
-
10th and 23rd Inf. Corps against 24th Inf. Corps at 4:1. Roll 4 for
DRL, eliminated. 10th Corps advances. -
1st Infantry Corps (German) and 56 Pz Corps against 11th Army at 2:1, with 1R for Air Support yields 3:1, roll 2 for
DR. 56 Pz advances. The slightly over-the-odds 18:8 ensured that anyEXresult would be soaked up by the German infantry instead of the Pz division. -
2d Inf. Corps against 52 Army at 1:1. This is a dicey business here, but it can’t be helped. The Germans have to be bold. With a little luck on the dice, they’ll push them back. Roll 2 for
EX, a good result for the Germans.
The key here is to elmininate the Russian 1st Mech and 24 Inf. Corps to be able to advance into the vacated spaces. Then a 2:1 + Air can be mounted against 11 Army. The will be a guaranteed step loss on the 3:1 column on the CRT, as the 11 Army must retreat through EZOCs established by 0209 and 0410. (10.7 Advance after Combat, the play example specifically illustrates this technique.)
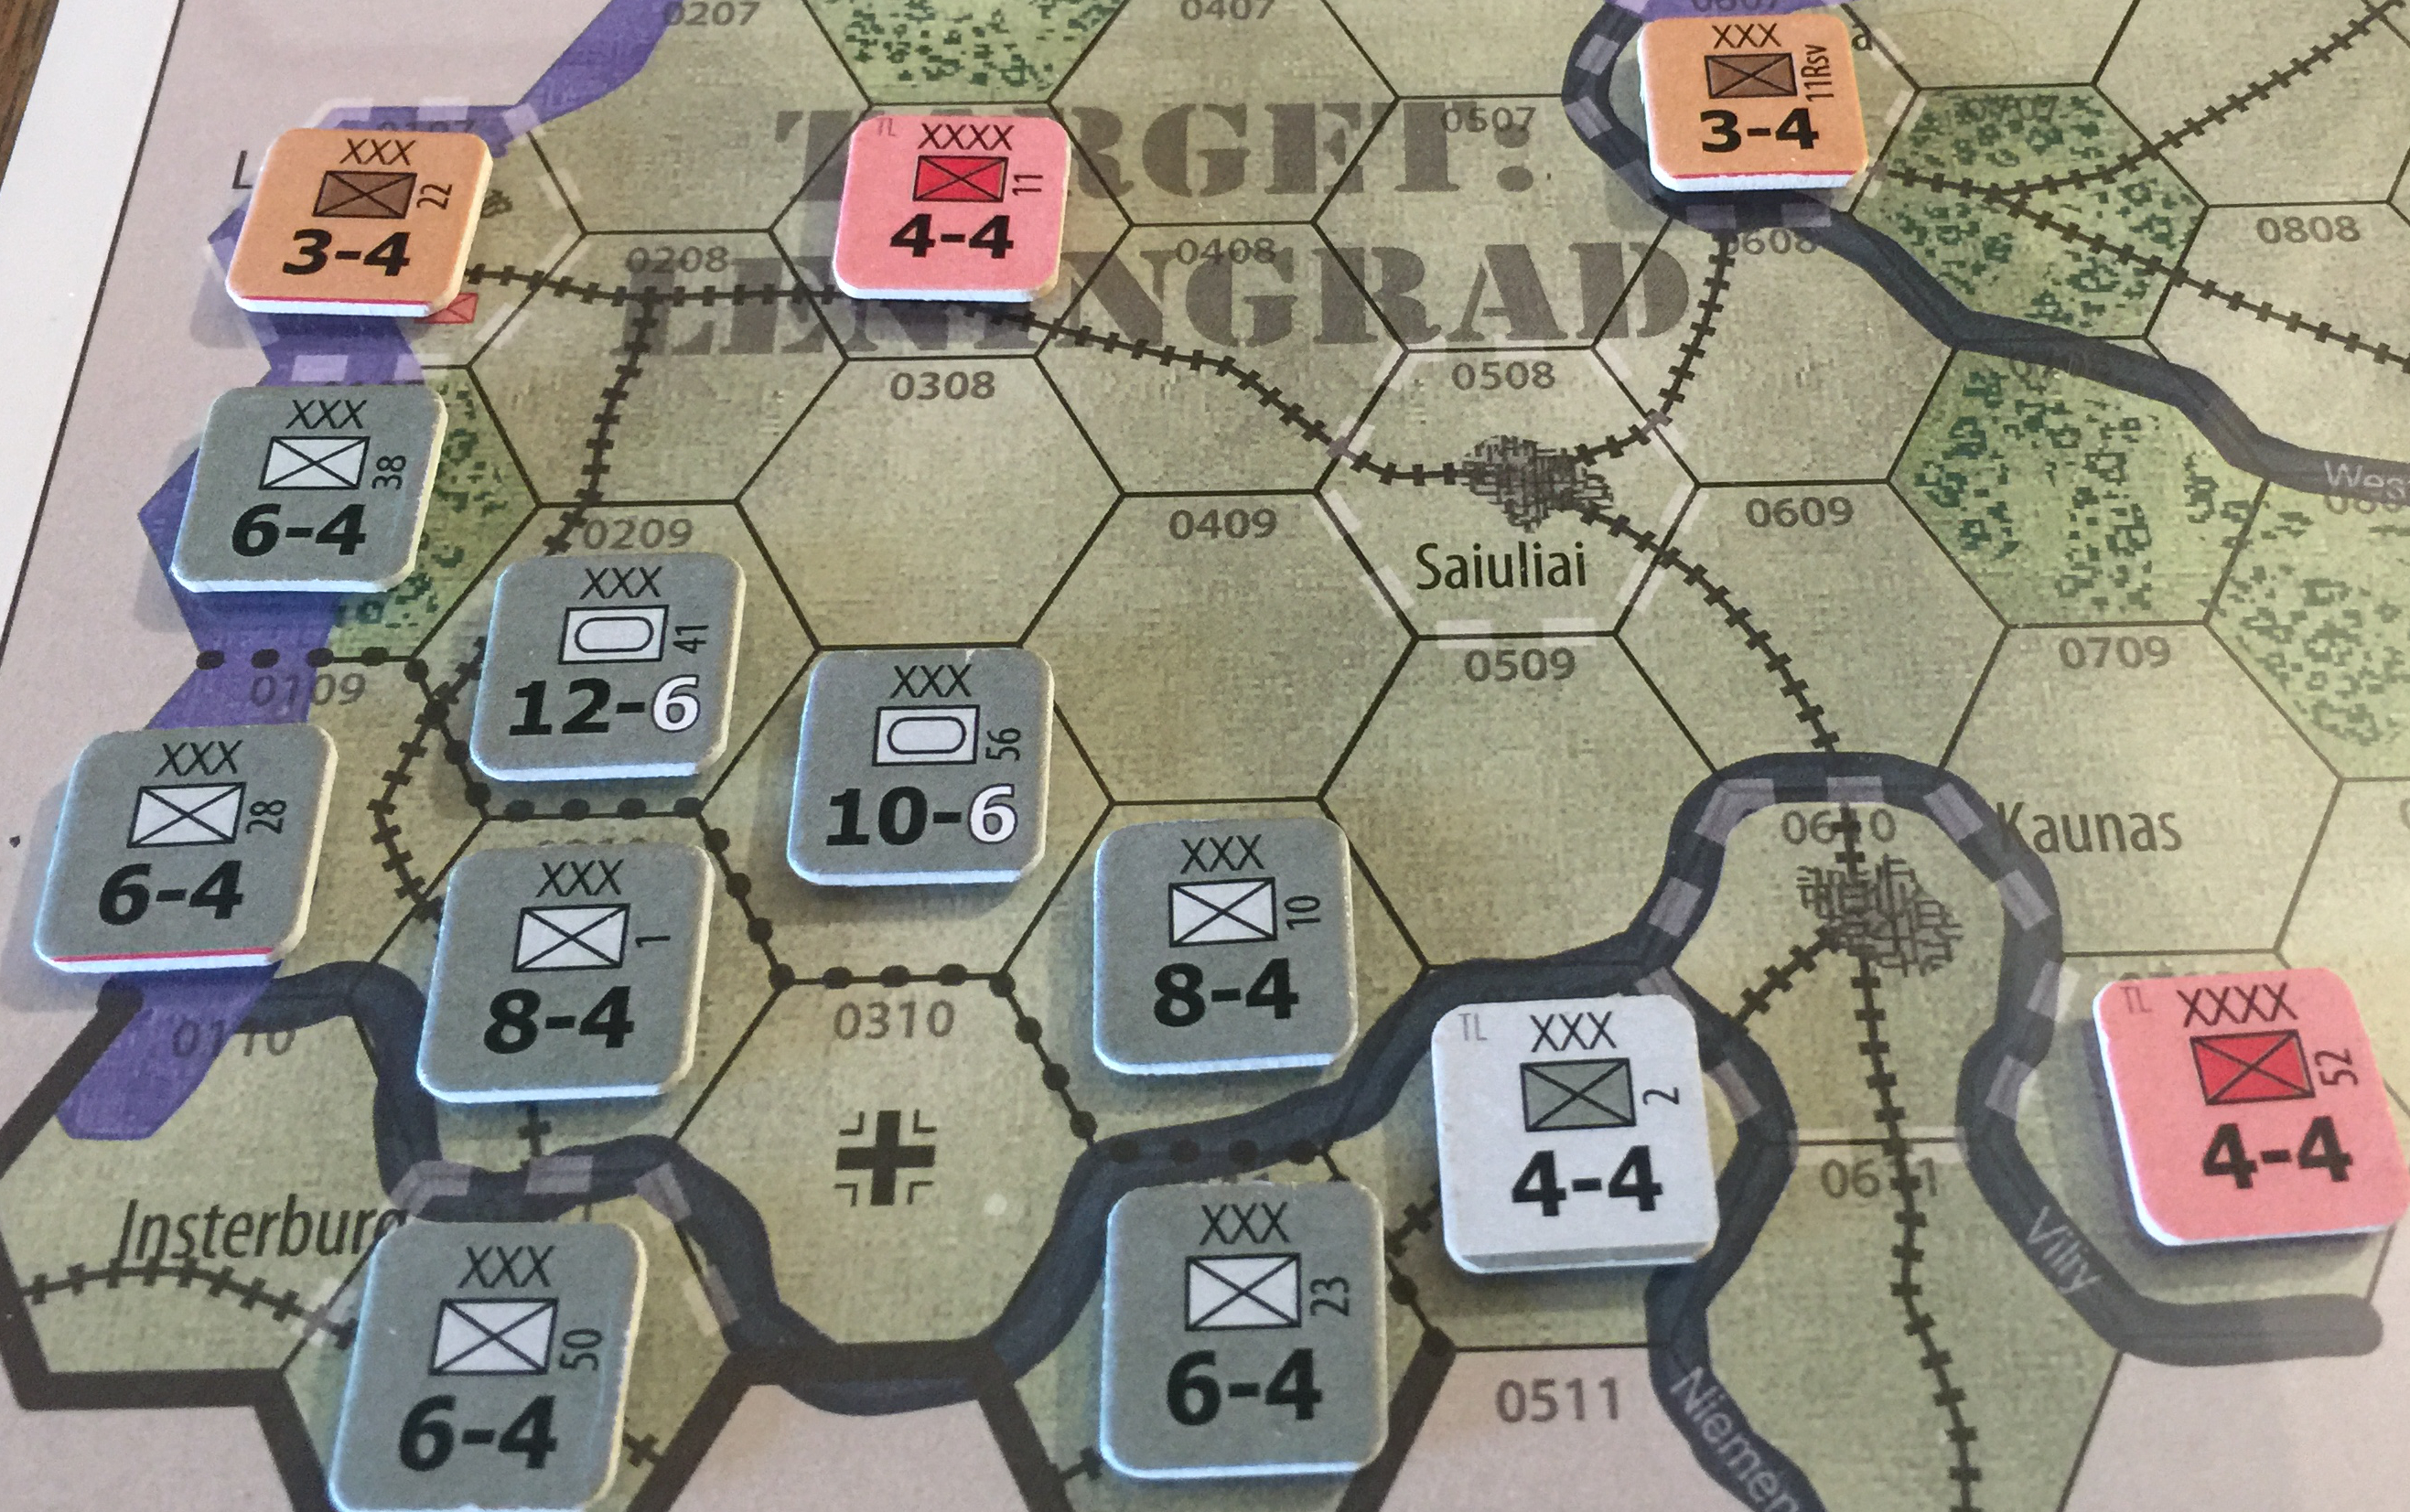
Here’s the result of German special movement phase:
Now the Russians take their turn, which is mainly try and get as far east as possible as fast as possible.
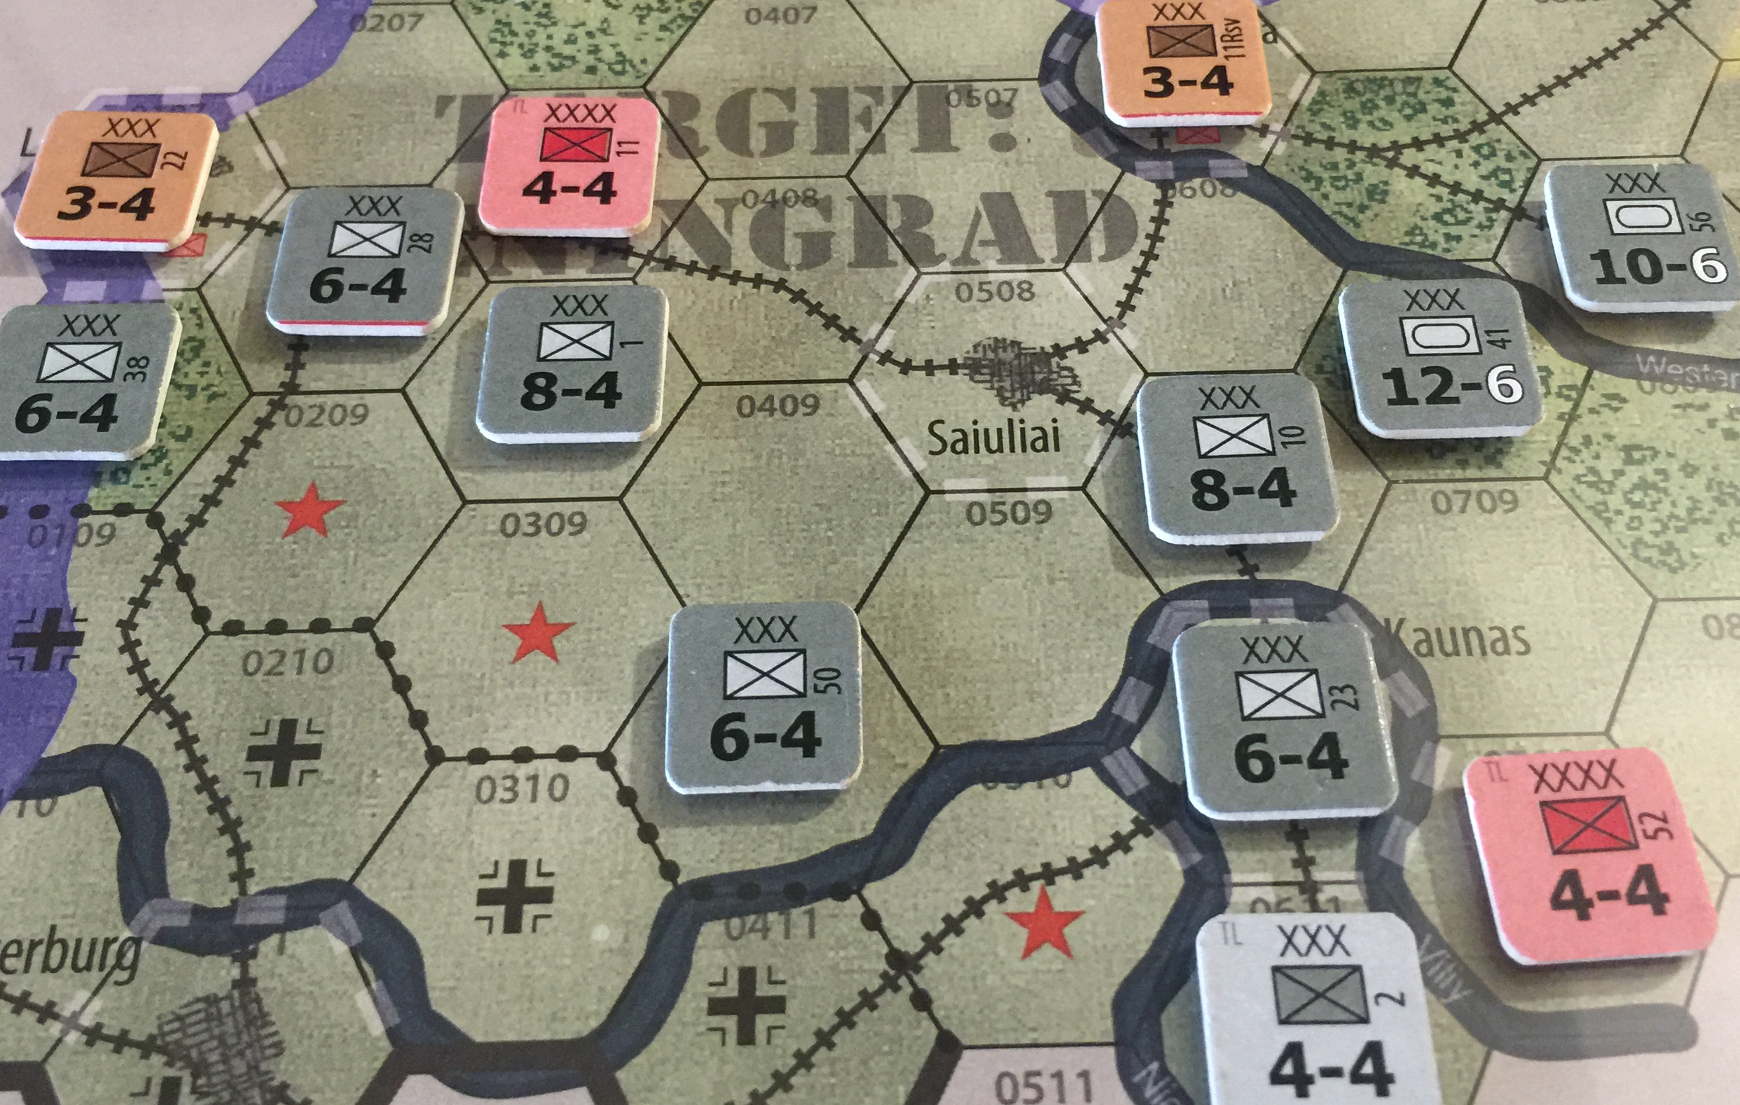
Turn 2
Germans drive deep:
Not really sure what the best strategies are for either side.
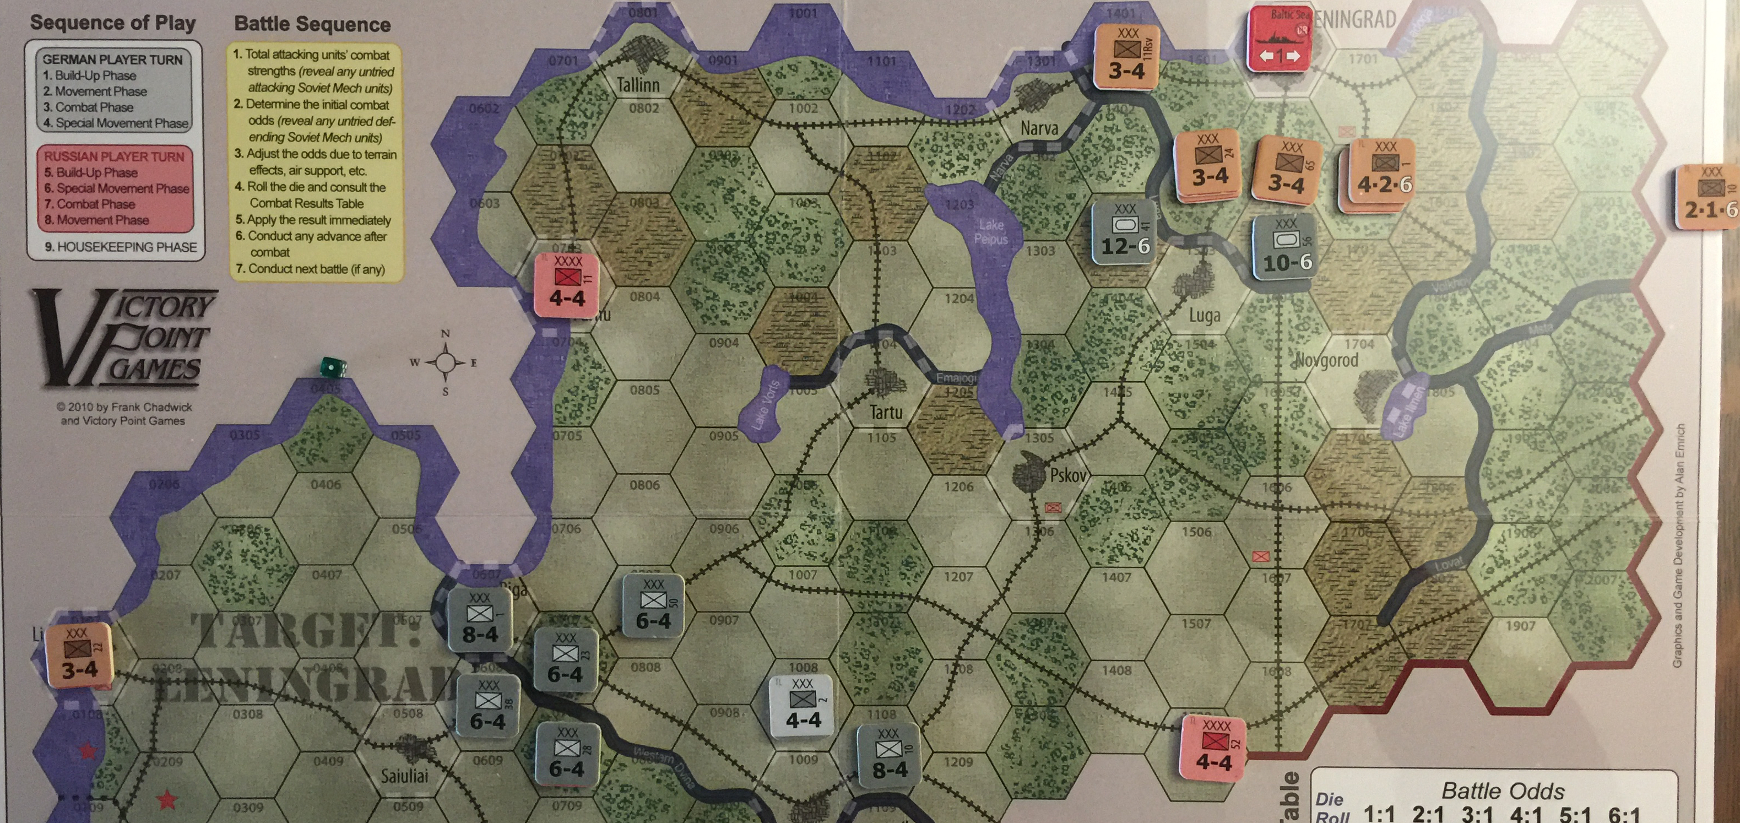
Turn 3
Germans now in position to threaten Leningrad. This will be interesting, I haven’t been in this position this early in this game yet.
The Russians move to prevent Germans from flanking.
This is the last screenshot from this game. I have what I wanted out of it initially, which is details on the German’s opening move, and it’s getting late on a Sunday afternoon before going back to work after a holiday weekend, with large release looming in mid-January. Keeping it set up to do detailed analysis turn by turn could easily result in just bailing from the game. I’d rather play it out fast and put it up instead.
Turn 4 - Germans take Leningrad
The Germans took Leningrad with a roll of 6 on the 3:1 table, which is a
DRL. The R is canceled due to the Fleet presence, but there was only
a single step unit in Leningrad, so it was lost. This is a lesson to the
Russian player: have more than one unit in Leningrad. Losing Leningrad
means the powerful Leningrad Workers’ Militia unit cannot come into
play.
Since this was the first time I’ve been able to take Leningrad, I think it’s worthy of writing up a few more notes. Now to see if they can keep it.
AAR
The rest of the game played out nicely, with the Germans holding Leningrad, the rail junctions, but losing Novgorod resulting in a draw. I probably should have moved one of the armor corps out of Leningrad by Turn 6 to have it available for, e.g., retaking Novgorod.
Note: I played this game such the friendly units did not negate EZOCs. I think that’s correct. It wouldn’t have changed the outcome much if I got this wrong, at least in this game.
I think my next play of Target Leningrad will be a study on all the possible ways to set up the game. The restriction on Soviet armies to be separated renders this quite tractable with (off the top of my head) only 4 or 5 different combinations of setups that the Soviets can use. It should be possible to configure the German attacks to do as much damage as what they did in this game.