Panzer Leader 1: Situation 20 Remagen Bridge
I’ve had Panzer Leader for years. I had intended on playing through all the scenarios in 2015, after I finished all the scenarios in PanzerBlitz. Since I never finished all the scenarios in PanzerBlitz (still haven’t), this never got played.
But it’s played now!
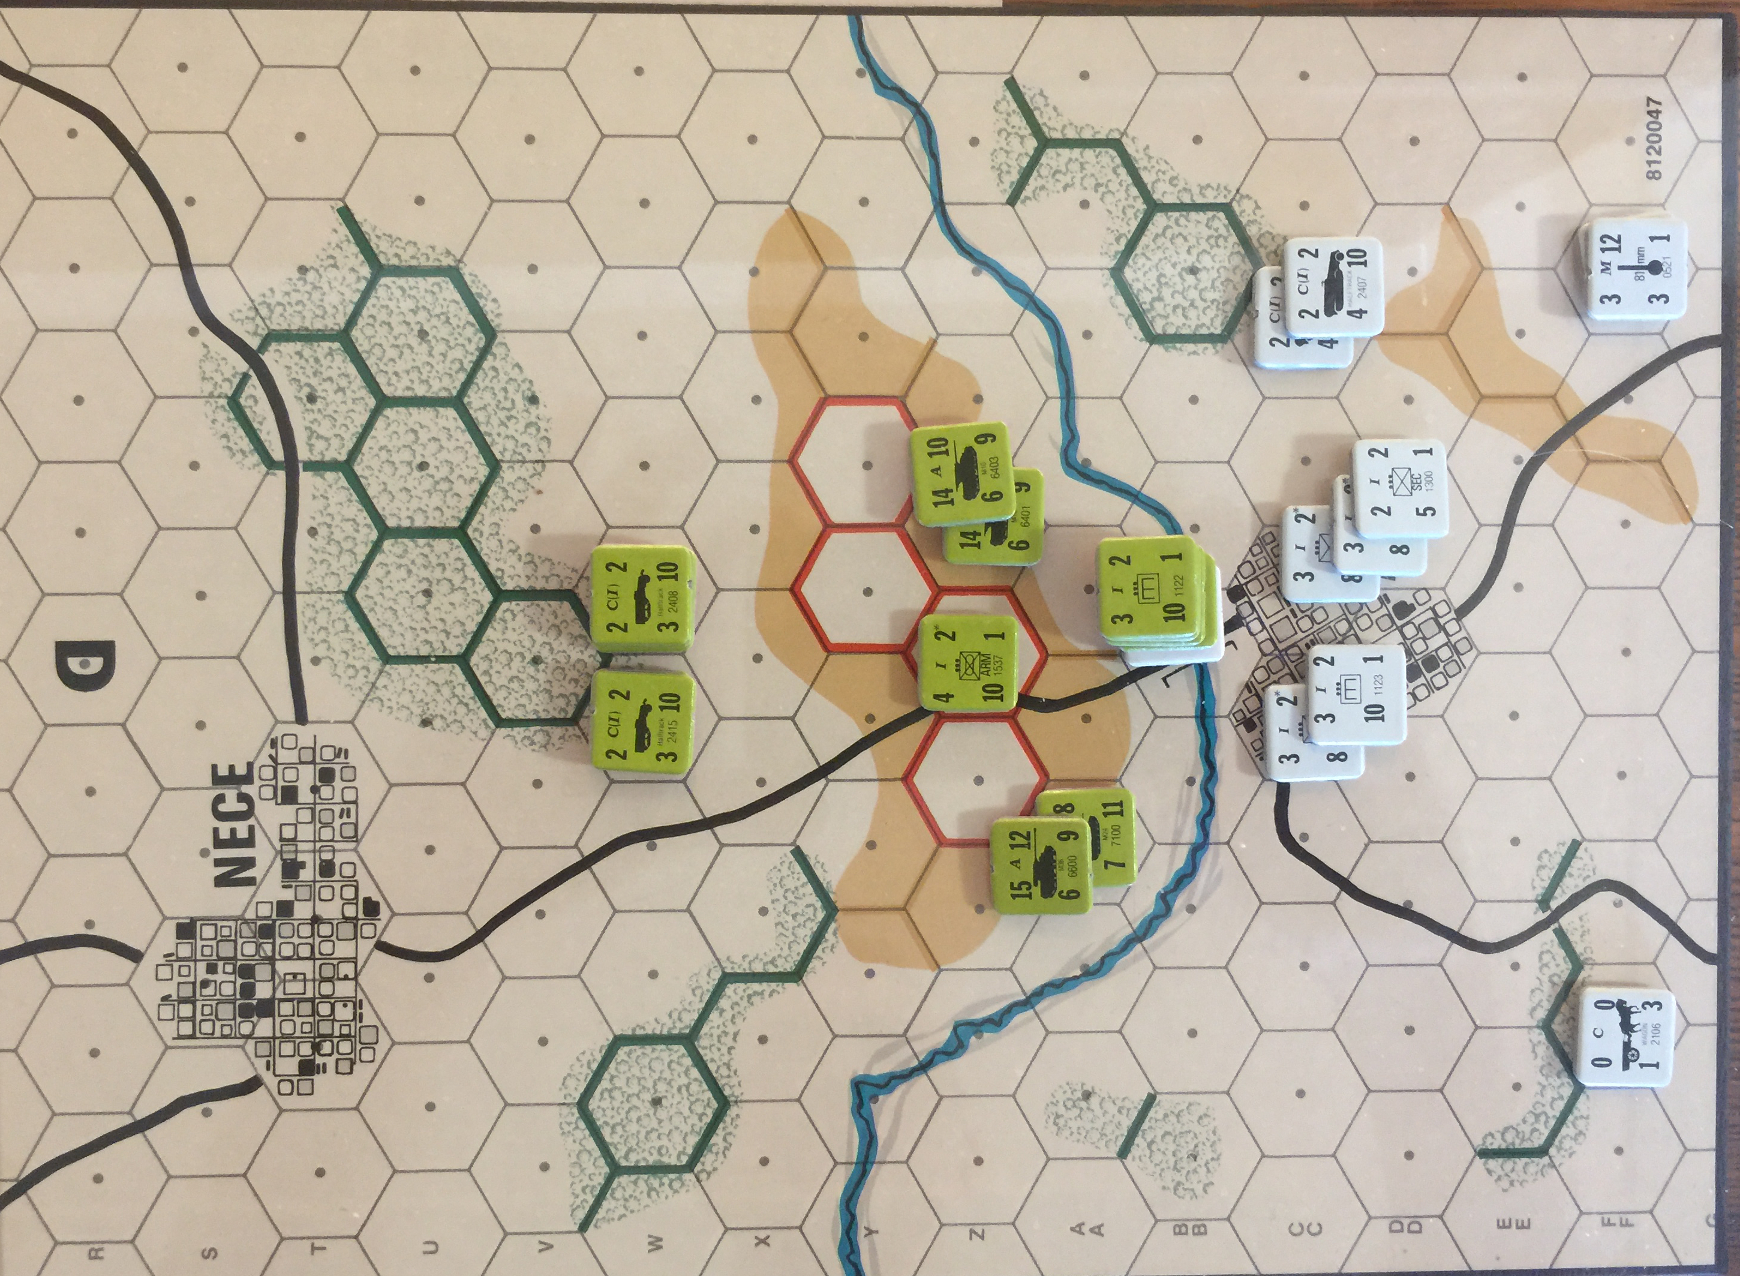
I chose the first play to be the last scenario, Situation #20, Remagen Bridge. It has a very few counter, and plays on half of one map board, very convenient for a fast solo game.
And the situation is a cute little puzzle. I didn’t see any way for the Germans to win it, as it seemed clear that the Allied would just park on the bridge and clear the block.
But it didn’t turn out that way.
For the armor to fire into the town, it needs to be on a forward slope, hence amenable to fire from the mortar and howitzer unit. The German defenders also need to be spotted, which requires Allied infantry to park on the bridge. But that leaves them vulnerable to CAT, and successful CAT means those units can’t spot for the armor.
I didn’t think until later in the game to use direct fire on the
Allied infantry to try and pick them off one by one. The idea would be
to concentrate fire on, say, an Allied engineer unit to disperse it,
then the followup CAT from the Germans to hopefully get a DD result
and eliminate it.
I ended the game at the top of Turn 6 (of 8) when the Germans dispersed the Allied engineers again. This turns out to have been a mistake, dispersing an engineer unit halts the 3 turn clock. The engineers have to be eliminated to reset it.
So I called this one a German win, but I think it would have been an Allied win had the block removal been played correctly.
I’ll play this one again for sure, cool puzzle and plays fast.